Measurement Presets
Introduction
If you find yourself adding the same set of measurements over and over again, you may benefit from using measurement presets.
If you would like to change the default set of measurements or would like to be able to control other configuration settings in addition to measurements, you may prefer to us sound window presets.
How to Create a Measurement Preset
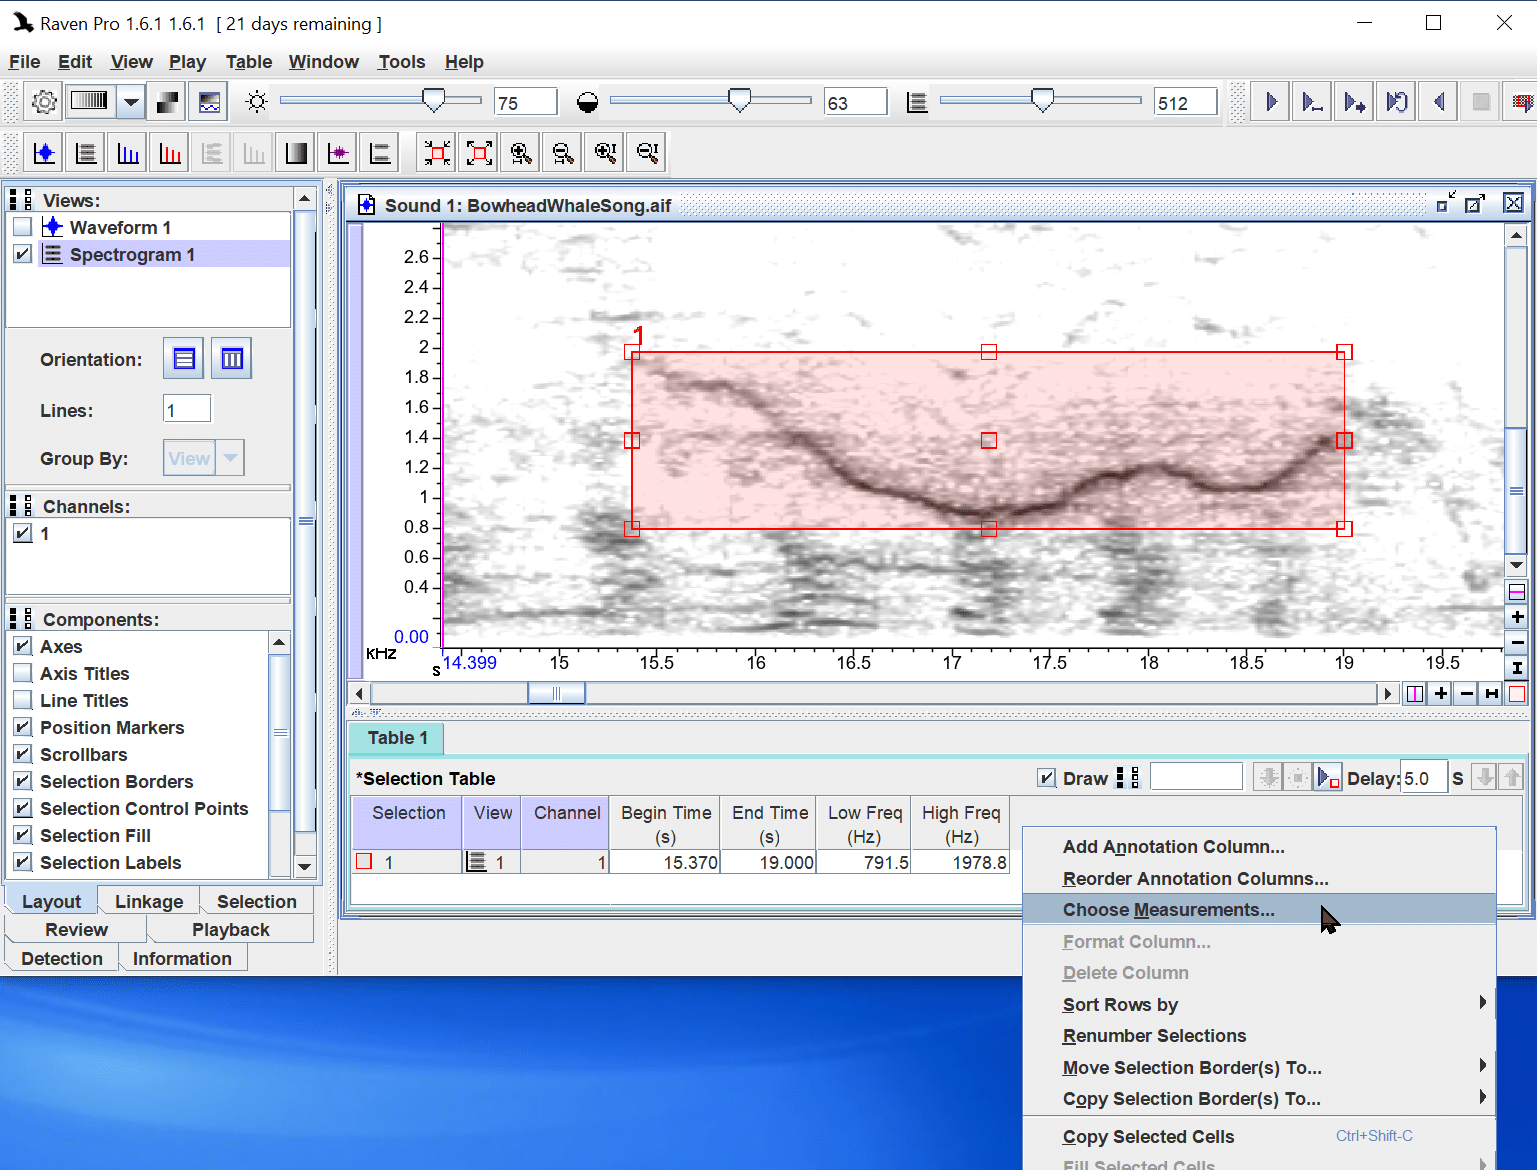
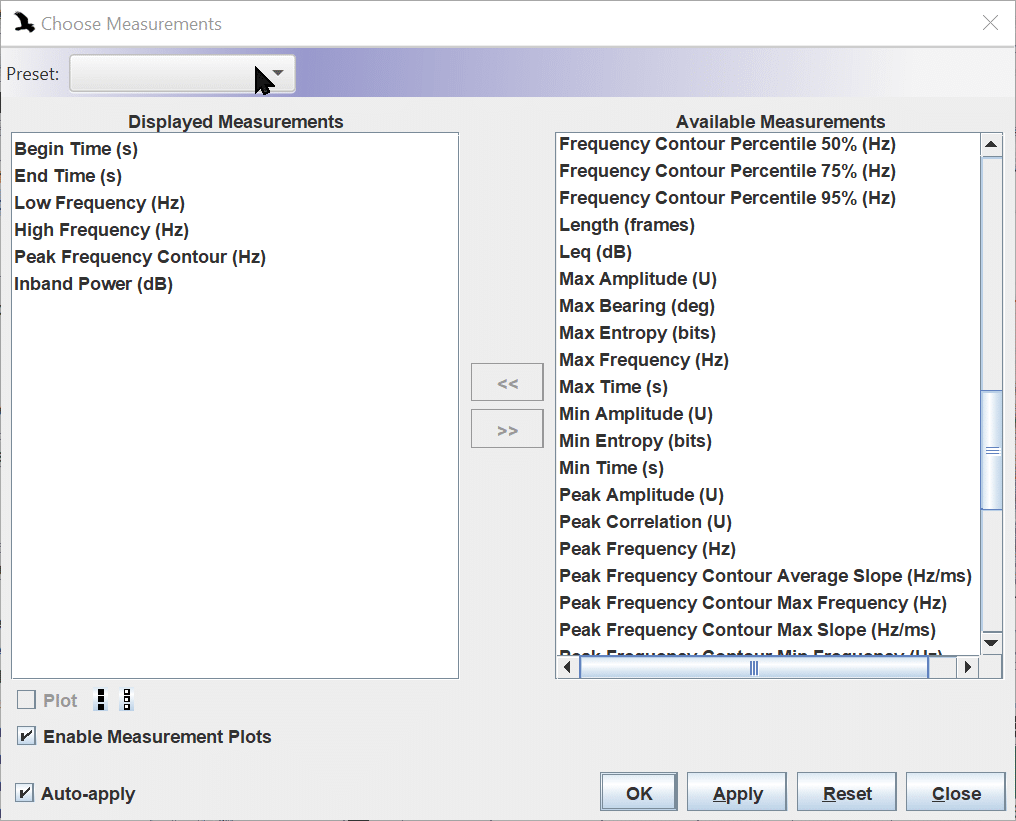
- Start by adding the measurements that you want to include in the preset. To begin, right-click in the selection table and select “Choose Measurements” from the context menu. (Alternatively, select “Choose Measurements” from the Table menu.)
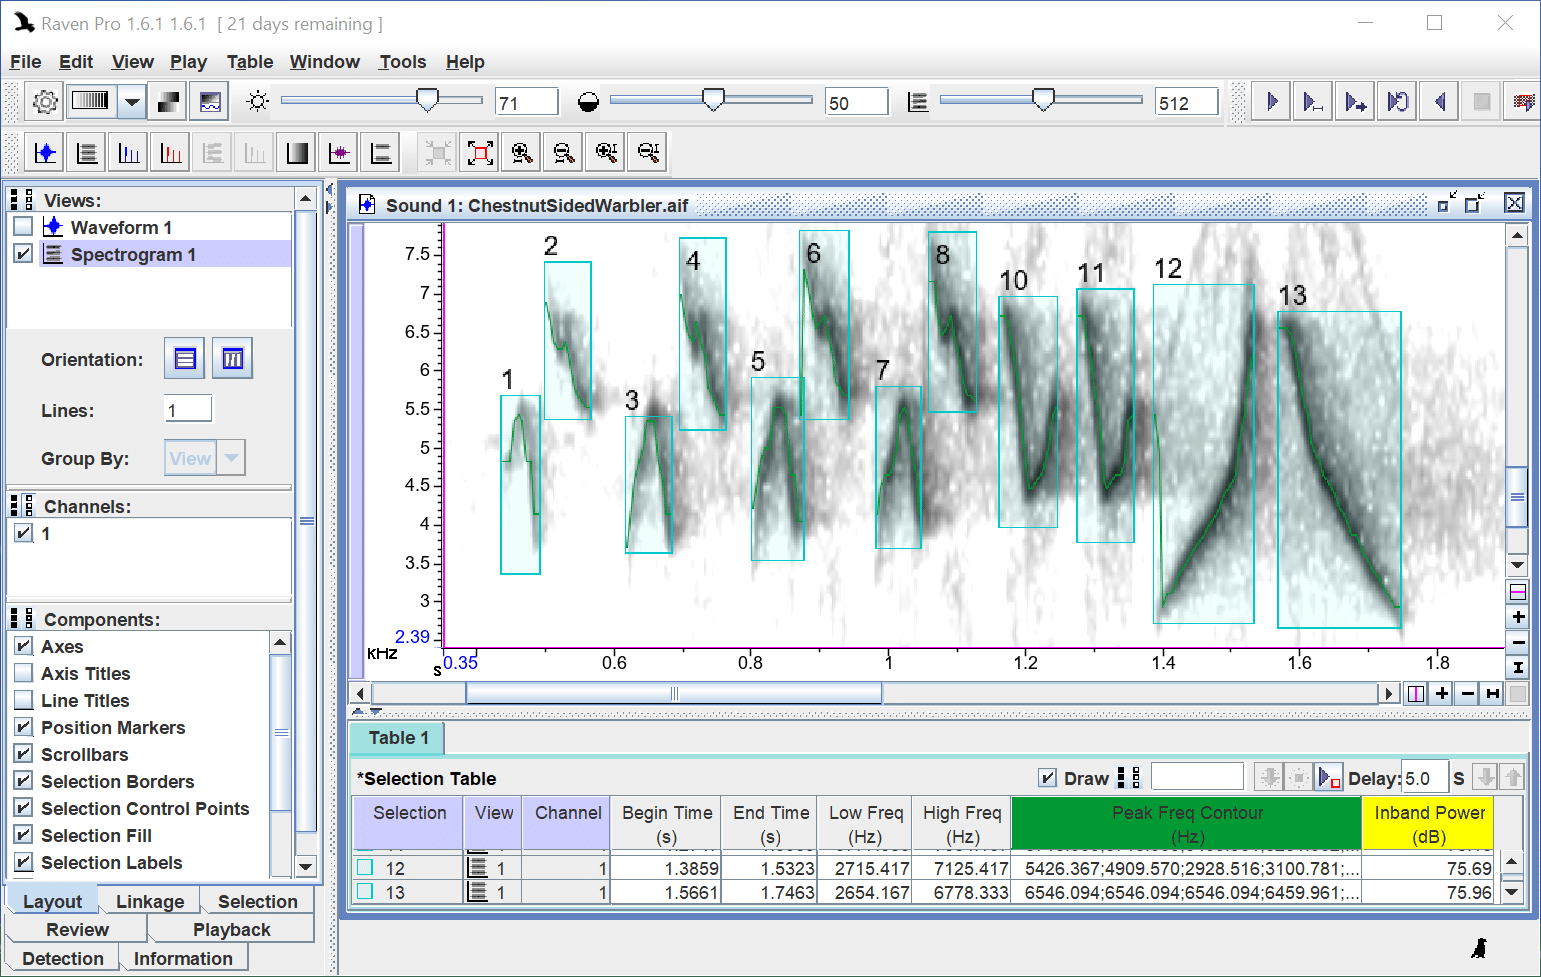
2. Double-click on one or more items in “Available Measurements” to add them to “Displayed Measurements”, then click the “OK” button. The new measurements will appear in your selection table.

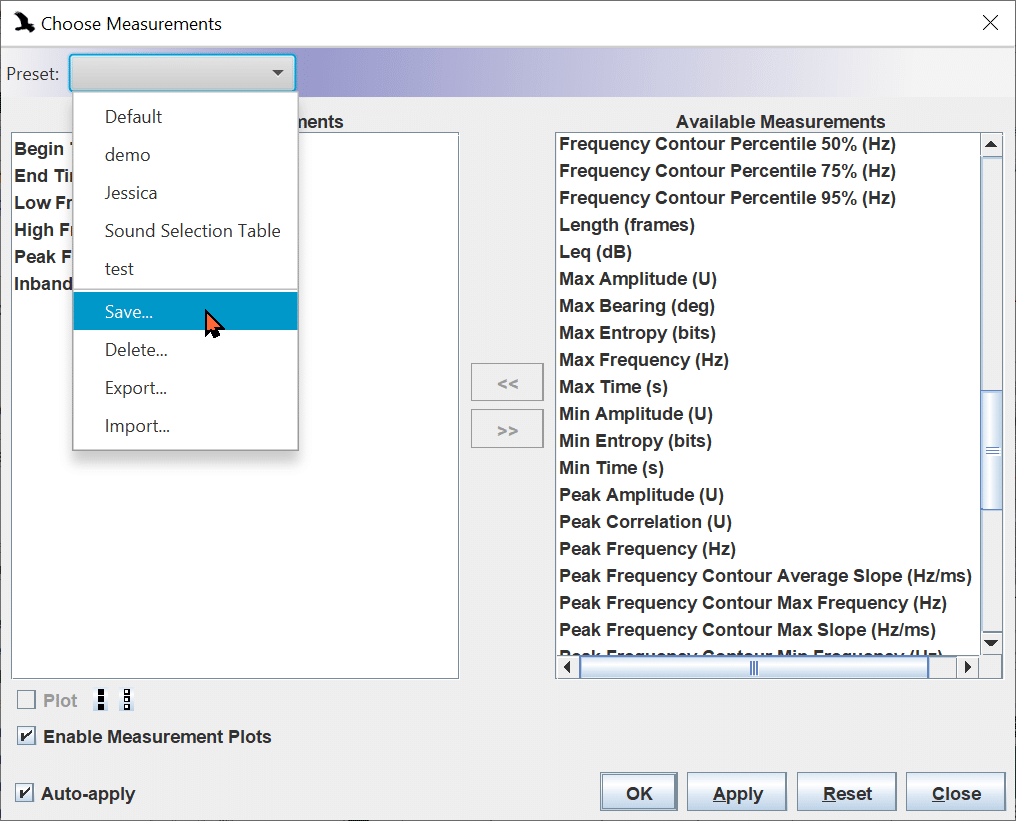
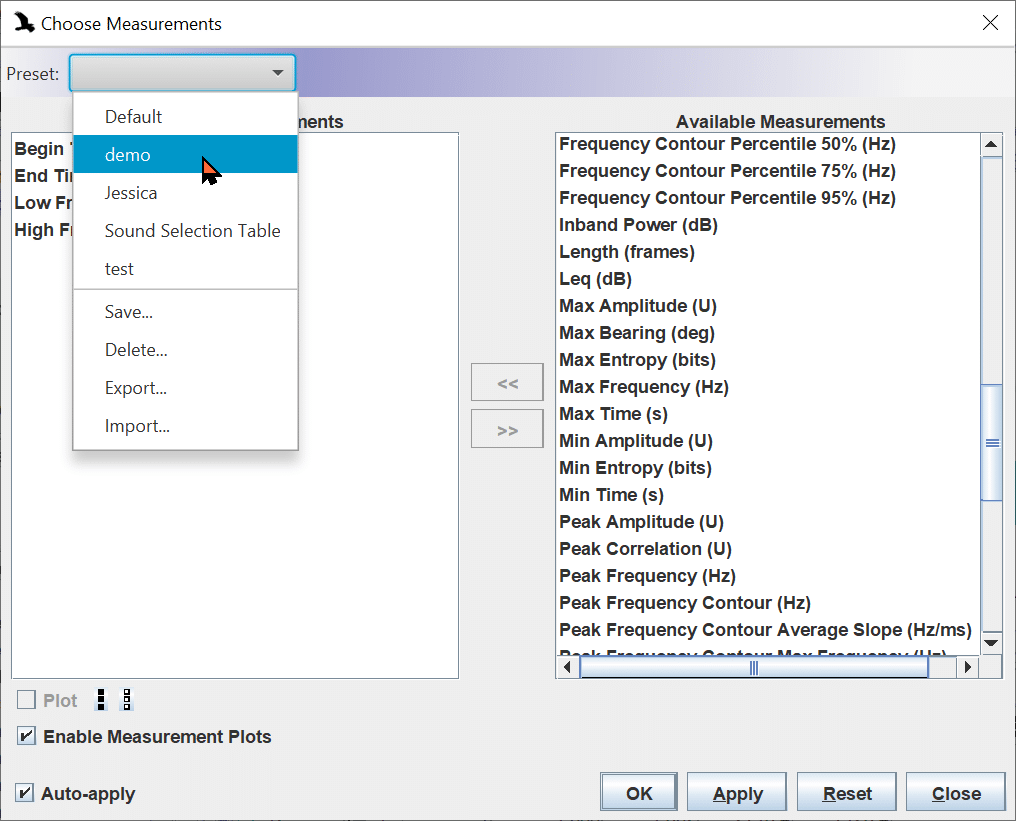
3. Now save a preset by clicking in the “Preset” field in the Choose Measurement dialog box and selecting “Save” from the menu.
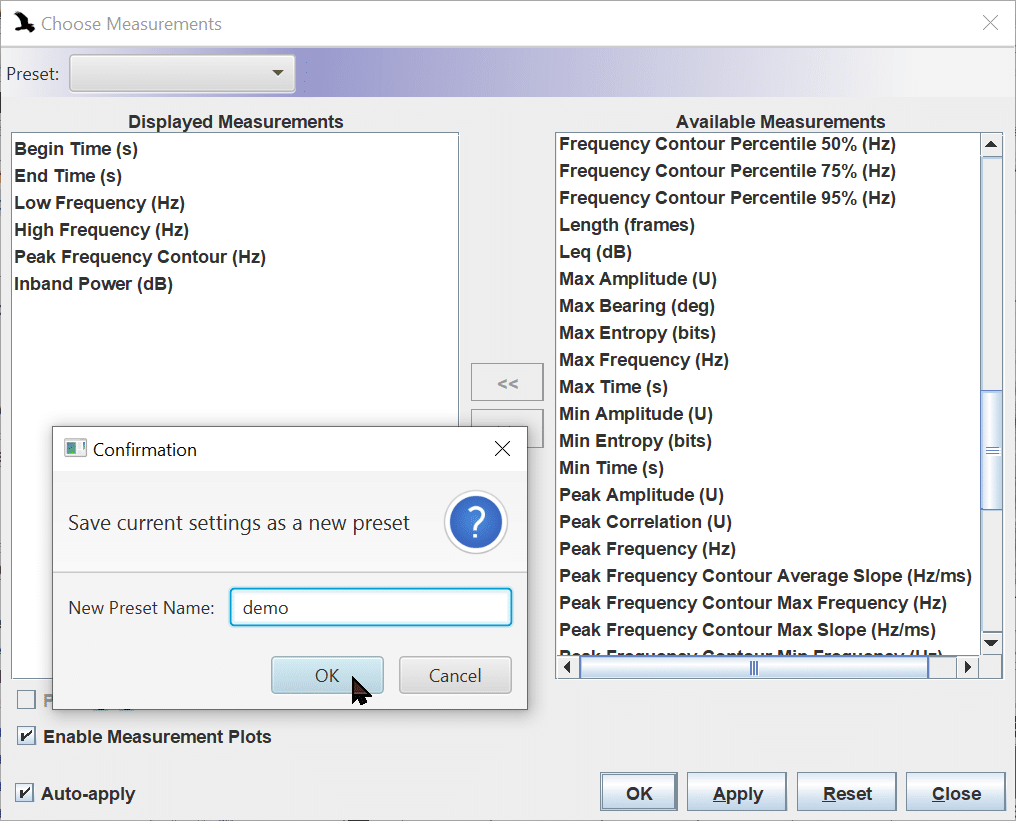
4. Then type in a new preset name and click the “OK” button.
How to Apply a Measurement Preset
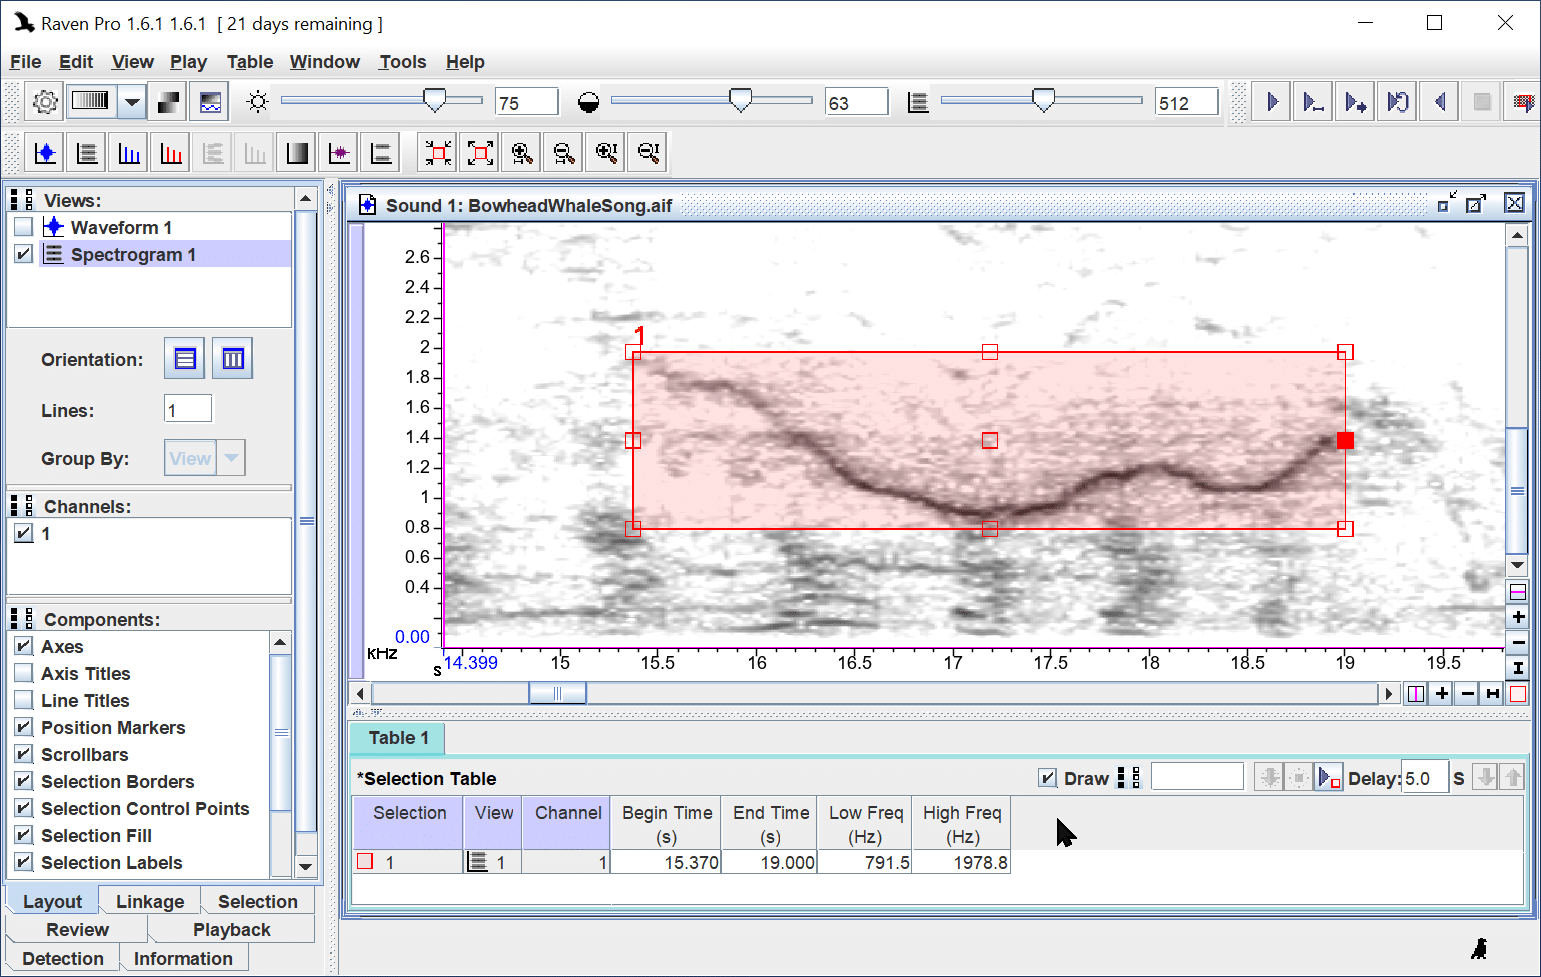
1. To apply a measurement preset, first open one or more sound files.
2. Then click in the “Preset” field in the Choose Measurements dialog box, select your new preset from the resulting menu, and click the “OK” button.
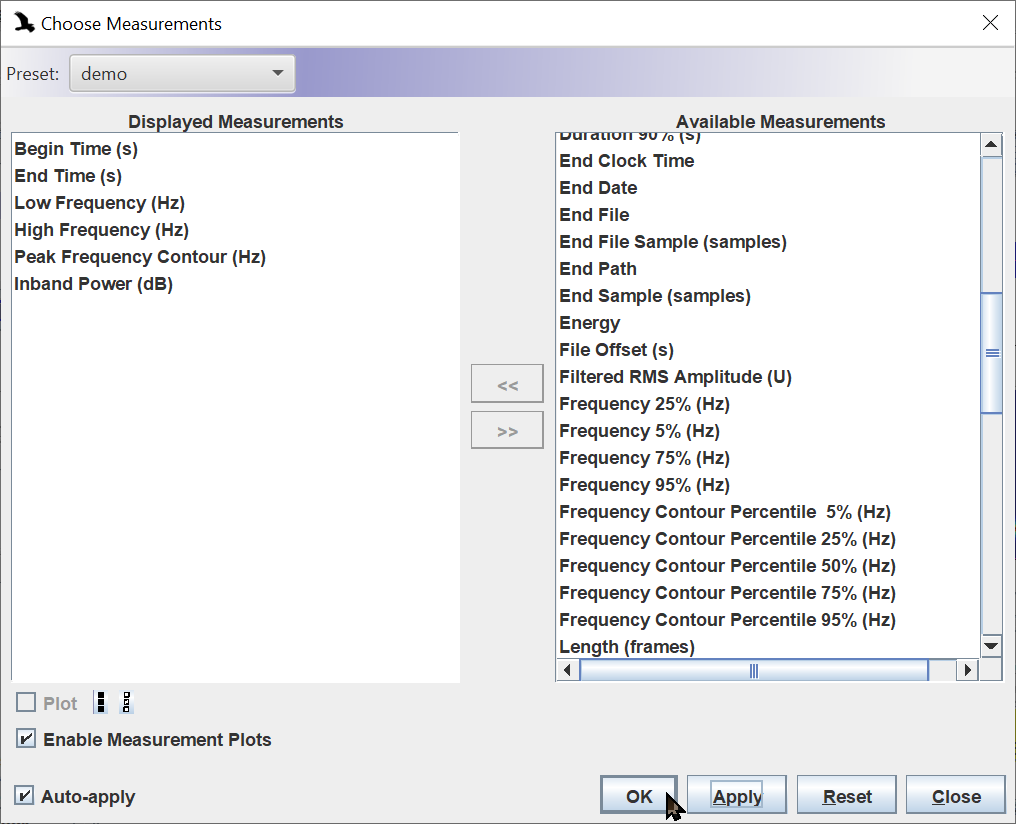
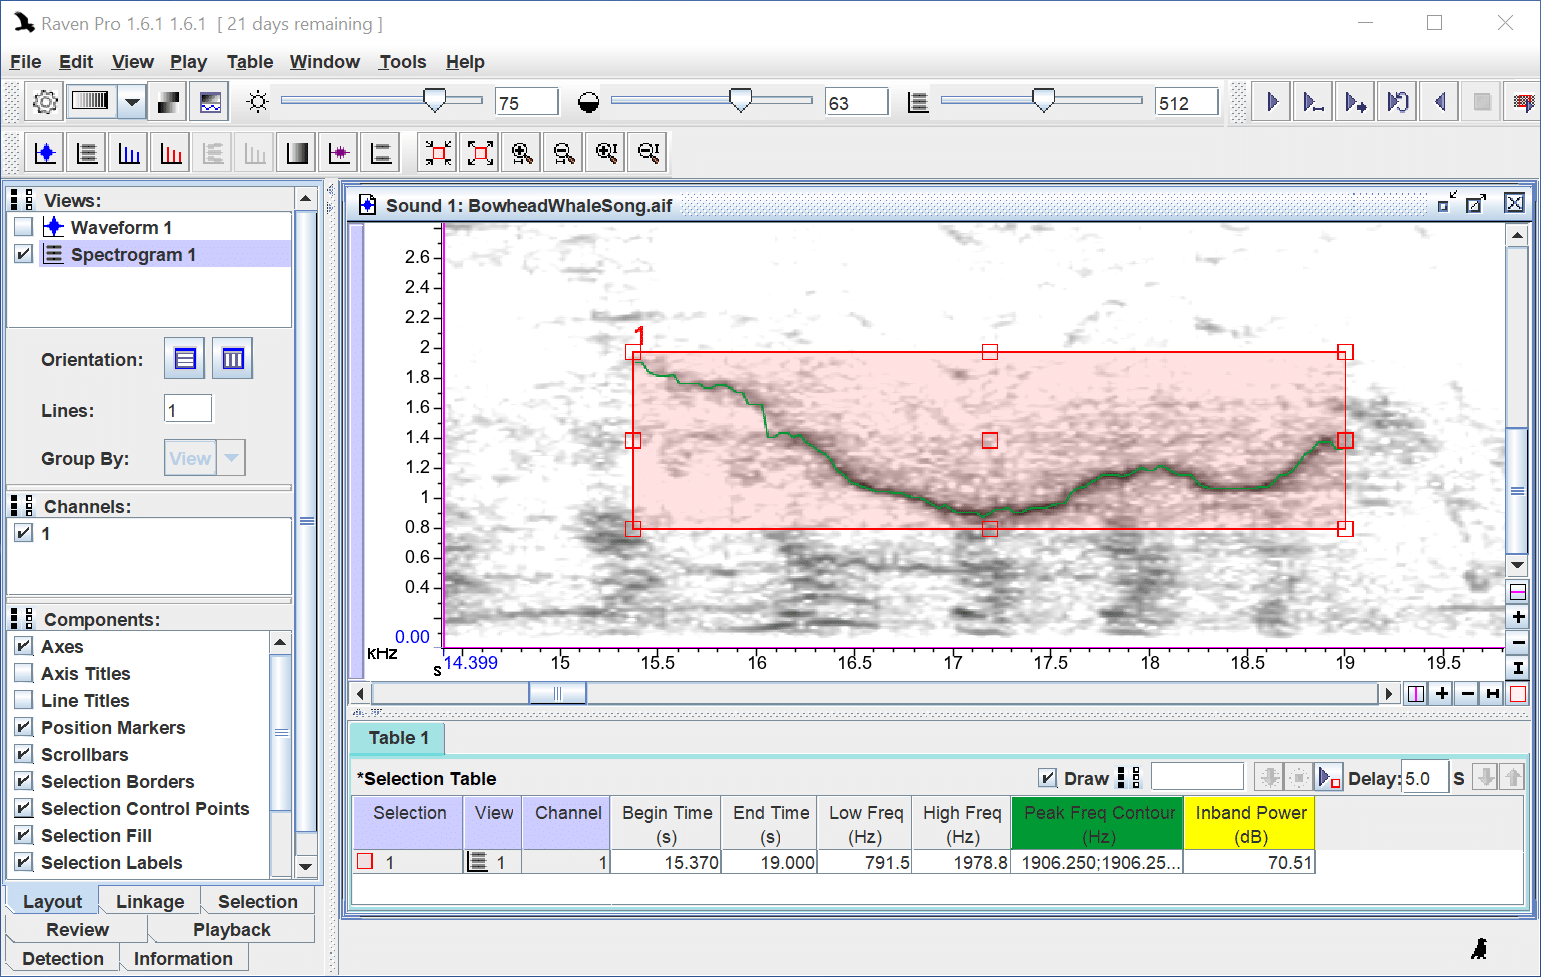
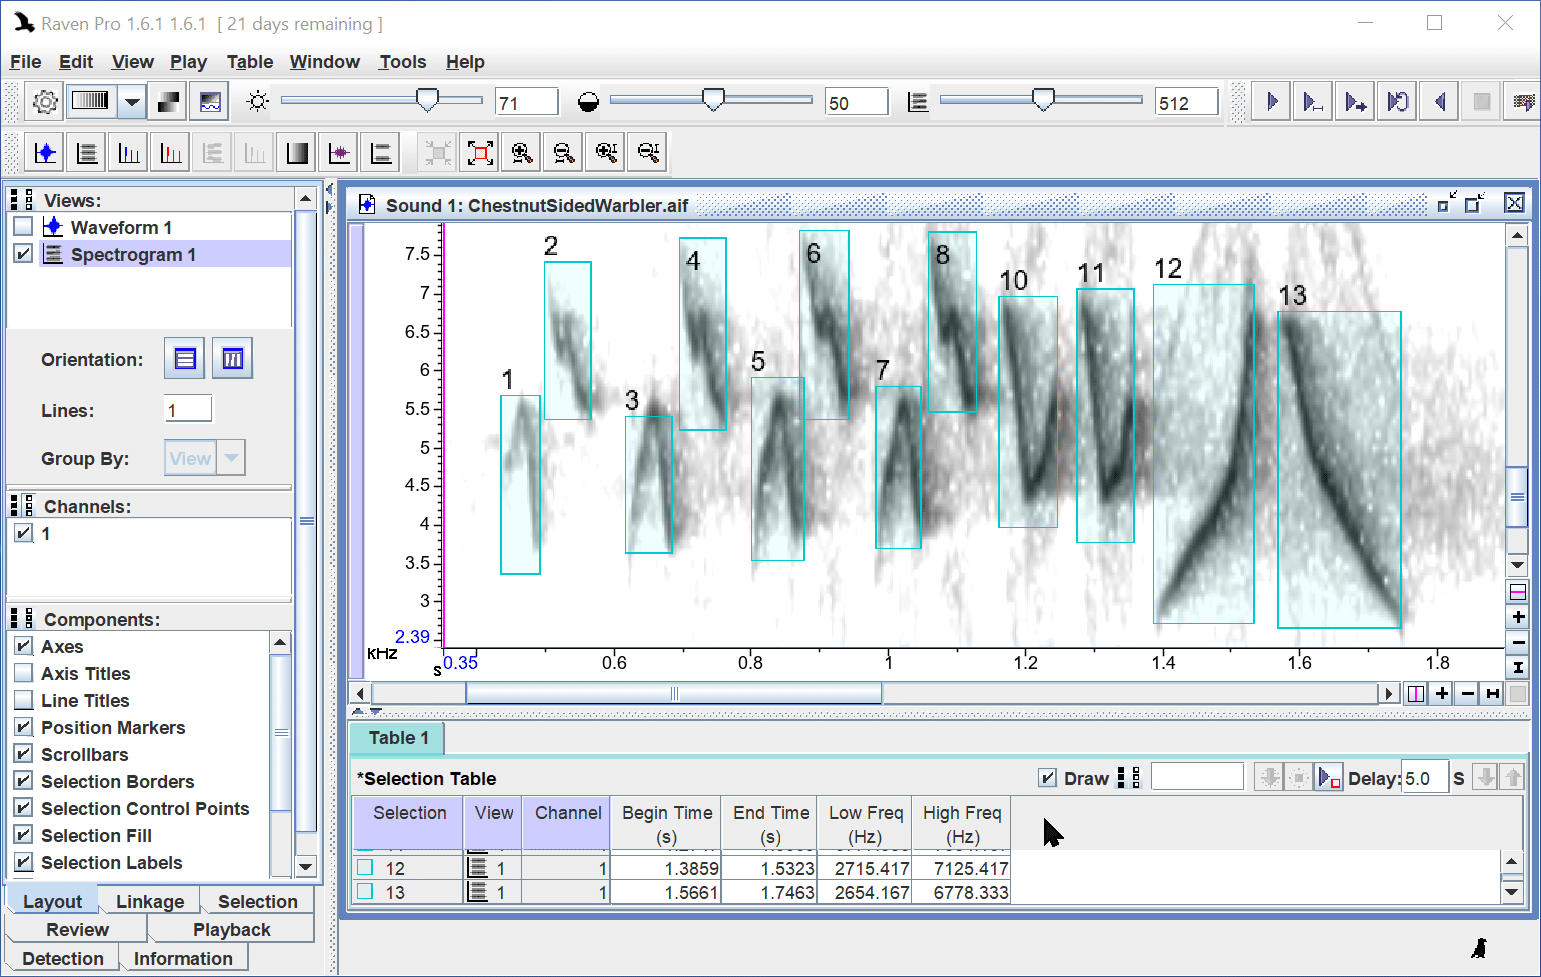
3. The optional measurement fields saved in your preset will be applied to your selection table.